The Ultimate Guide to Custom Welding Helmets: Personalization, Accessory Upgrades, and Workflow Optimization
In the modern industrial landscape, a welding helmet is no longer viewed merely as a passive shield against ultraviolet radiation and sparks. It has evolved into a sophisticated piece of wearable technology that serves as an extension of the welder’s professional identity and a critical hub for operational efficiency. For the dedicated professional, the transition from a standard, out-of-the-box helmet to a highly customized and optimized tool is a journey that involves aesthetic expression, ergonomic enhancement, and technical calibration. This guide provides an exhaustive analysis of how to reconstruct your welding experience through personalization and strategic upgrades.
The Art of Personalization: Custom Painting and Design
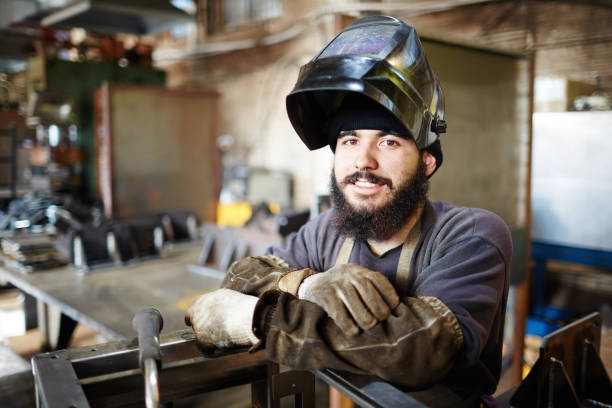
Personalizing a welding helmet is a tradition rooted in the desire for self-expression within the workshop. However, a professional-grade custom design requires more than just artistic flair; it demands a deep understanding of material science to ensure that the helmet’s structural integrity and safety features remain uncompromised. Custom painting allows a welder to stand out in a crowded job site while fostering a sense of ownership and pride in their equipment.
Choosing the Right Materials for Helmet Customization
The primary challenge in painting a welding helmet is the high-heat environment it must endure. Standard spray paints often fail under the intense thermal radiation produced during high-amperage welding, leading to peeling, bubbling, or the release of toxic fumes. Professionals must utilize high-temperature resistant primers and paints specifically formulated for plastics or polycarbonates. These materials ensure that the finish remains durable even when exposed to slag and constant temperature fluctuations. Furthermore, it is imperative to avoid metallic-based paints that could potentially conduct electricity or interfere with the electromagnetic sensors of an Auto-Darkening Filter (ADF).
Step-by-Step Guide to a Professional Paint Job
Achieving a gallery-quality finish involves a meticulous multi-stage process. First, the helmet must be completely disassembled, removing the ADF lens, headgear, and any electronic components. The shell is then cleaned with a degreasing agent to remove oils and residues. Following this, light sanding with fine-grit sandpaper (400-600 grit) creates the necessary “tooth” for paint adhesion. After applying several thin coats of primer, the base color and artistic details are added. The final and most crucial step is the application of a high-gloss or matte UV-resistant clear coat. This layer acts as a sacrificial barrier against UV light and physical abrasions, preserving the artwork for years of heavy use.
Essential Accessories for Maximum Comfort and Protection
While the lens is the heart of the helmet, the accessories that surround it determine the welder’s endurance and long-term health. Many welders settle for the stock components provided by manufacturers, unaware that a few strategic upgrades can significantly reduce fatigue and increase the precision of their work. Beyond the standard protective film, a suite of accessories exists to tailor the helmet to specific ergonomic needs.
Advanced Headgear and Sweatbands
The weight distribution of a welding helmet is the leading cause of neck strain and “welder’s headache.” Upgrading to multi-point adjustment headgear allows for a more customized fit, distributing the weight across the entire cranium rather than concentrating pressure on the forehead and temples. Additionally, high-performance sweatbands made from moisture-wicking materials like fleece or padded cotton are essential for maintaining focus. These accessories prevent perspiration from running into the eyes or onto the internal lens, which is particularly critical in high-temperature environments or during prolonged overhead welding sessions.
Magnifying Lenses and Vision Enhancement
For tasks requiring extreme precision, such as TIG welding on thin-gauge stainless steel, standard vision may not be sufficient. Magnifying lenses, commonly referred to as “cheater lenses,” can be inserted directly behind the ADF. These lenses come in various diopters (ranging from 1.00 to 2.50) and allow the welder to see the weld pool with much greater clarity without straining their eyes. This enhancement leads to better puddle control and higher-quality bead aesthetics. Furthermore, adding external LED light kits to the helmet shell can illuminate dark workspaces, ensuring that the welder can see the joint clearly before the arc is even struck.
Optimizing Workflow with Integrated Grinding Modes
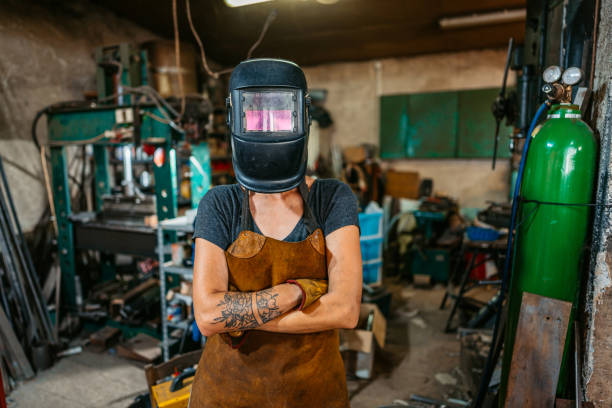
In a high-production environment, every second saved contributes to the bottom line. One of the most significant technical advancements in modern welding helmets is the integration of a dedicated Grind Mode. This feature allows the welder to switch the lens to a fixed light state (usually Shade 3 or 4) without removing the helmet, providing a clear view for pre-weld preparation or post-weld cleanup.
The Mechanics of Grinding Pattern Switching
The transition between welding and grinding often involves a repetitive cycle of lifting and lowering the helmet. This not only wastes time but also increases the risk of eye injuries from flying debris when the helmet is in the “up” position. A helmet equipped with a grinding pattern switch allows the welder to remain fully protected while performing tasks like removing slag, smoothing edges, or beveling plates. The internal circuitry of the ADF is temporarily bypassed, preventing the lens from darkening in response to the sparks generated by the grinder.
External vs. Internal Controls: Impact on Productivity
The placement of the grind mode switch is a critical factor in workflow efficiency. External grind buttons are typically located on the side of the helmet shell, allowing the welder to toggle the mode with a gloved hand without breaking their stance. Internal controls, while offering a sleeker helmet profile, require the welder to lift the hood to access the settings. For those engaged in heavy fabrication where grinding is as frequent as welding, an external control is the superior choice, as it maintains the “hood down” workflow, significantly reducing the physical toll of a long shift.
Maintenance and Long-term Efficiency Strategies
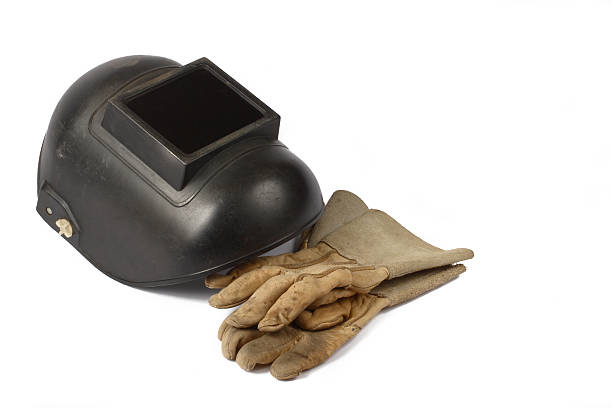
A high-performance helmet is an investment that requires consistent maintenance to retain its value and functionality. Beyond customization and upgrades, the longevity of the equipment depends on a rigorous inspection and cleaning regimen. Neglected equipment can lead to decreased visibility, sensor failure, and compromised safety.
Protective Film Management and Beyond
The outer protective lens cover is the first line of defense against spatter and smoke. Once this film becomes pitted or clouded, the welder’s visibility drops, leading to errors and eye strain. It is recommended to replace these covers at the first sign of degradation. However, maintenance should also extend to the internal sensors and solar panels. Dust and debris buildup on the sensors can cause the ADF to flicker or fail to darken, which is a major safety hazard. Using a soft, microfiber cloth and specialized lens cleaner ensures that the optics remain crystal clear and the electronics function at peak performance.
| Feature | Standard Helmet | Upgraded/Custom Helmet |
|---|---|---|
| Headgear | Basic 2-point adjustment | Ergonomic 4 or 5-point system |
| Vision | Fixed magnification | Interchangeable cheater lenses |
| Workflow | Manual lifting for grinding | External grind mode toggle |
| Aesthetics | Plain black/grey shell | Custom UV-resistant paint art |
Frequently Asked Questions (FAQ)
- Q1: Can I use standard automotive spray paint to customize my welding helmet?
- While automotive paint is durable, it is best to use paints specifically rated for high heat and plastic adhesion. Standard paints may crack under the thermal expansion of the helmet shell or release harmful vapors when heated by the welding arc. Always finish with a high-quality, heat-resistant clear coat.
- Q2: How do I know which diopter for a magnifying lens I need?
- The diopter depends on your natural vision and the distance at which you weld. Generally, a 1.00 or 1.25 is a good starting point for minor correction, while 2.00 or 2.50 is used for very close-up, intricate work. If you wear reading glasses, matching that strength is a reliable strategy.
- Q3: Is an external grind button really worth the extra cost?
- Yes, for professionals who perform a lot of tack welding and cleaning. It allows you to switch modes in a fraction of a second without removing your gloves or lifting your hood, which keeps you protected from surrounding shop hazards and significantly boosts your hourly productivity.
- Q4: Will painting my helmet void the manufacturer’s warranty?
- In many cases, yes. Most manufacturers advise against painting the shell as it could potentially hide cracks or compromise the material. If warranty is a concern, consider using high-quality vinyl wraps or decals which can be removed more easily.
- Q5: How often should I replace the sweatbands in my headgear?
- For daily welders, sweatbands should be replaced every 1 to 3 months depending on the environment. Beyond hygiene, a compressed or worn-out sweatband loses its cushioning properties, leading to increased pressure points and discomfort.
Technical and safety note: This article is for general editorial information only. Welding, electrical, respiratory, home repair, grooming, child-safety, material-science, and building topics should be checked against current standards, manufacturer instructions, local codes, and qualified professionals before use.